Skip to content

Robert St. John

Restaurateur, author, enthusiastic traveler, & world-class eater.

Grilled Peach Shortcake

Ingredients

2 cups all-purpose flour
2 Tbl plus extra for sprinkling
1 Tbl baking powder
⅛ tsp salt
¾ cup cold, unsalted butter (1 1/2 sticks, diced)
3 Large eggs, lightly beaten
¼ cup Heavy cream, chilled
¼ cup Sour cream
1 tsp Vanilla extract
Egg Wash (1 egg beaten with 2 tablespoons water or milk )
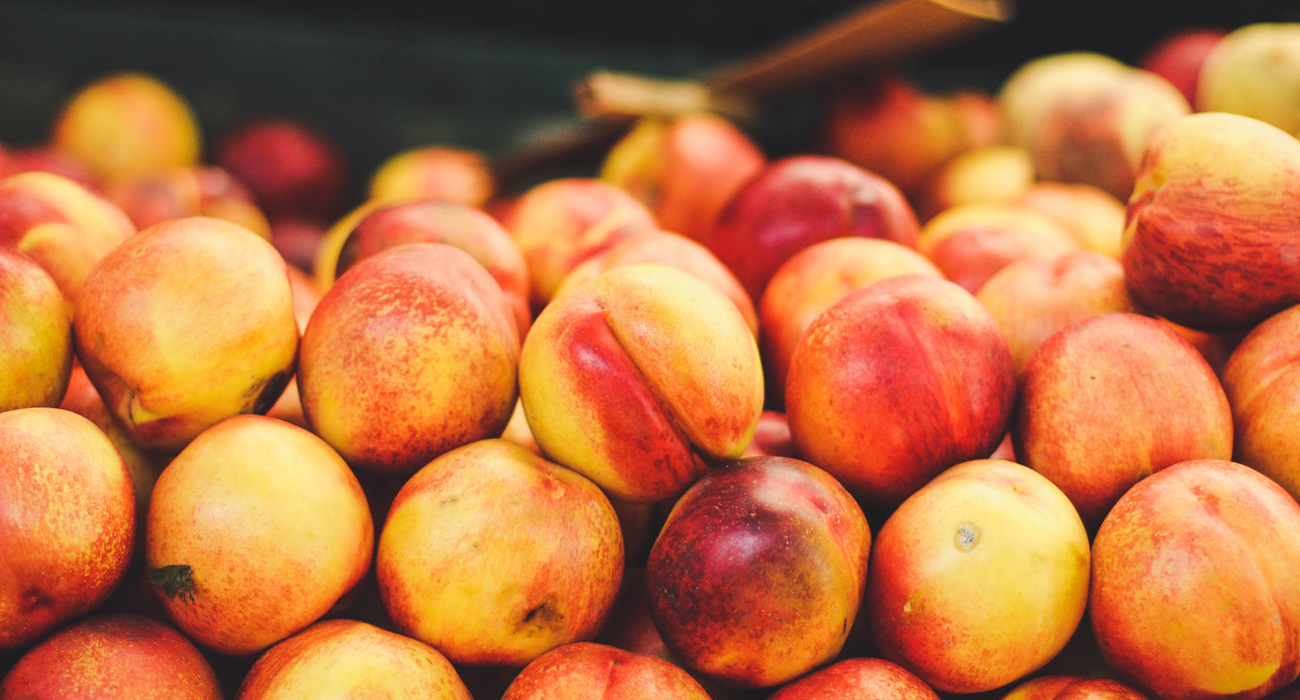
6 Large, Fresh, Ripe Peaches, peeled and halved
¼ cup Melted butter
¾ cup sugar
2 tsp lemon juice
½ tsp vanilla
Peach Ice Cream

Instructions

Preheat oven to 375 degrees.

Sift the flour, 2 tablespoon sugar, the baking powder, and salt into the bowl of an electric mixer fitted with the paddle attachment. Blend in butter at the lowest speed and mix until the butter is the size of peas. Combine eggs, heavy cream, sour cream and vanilla extract and quickly add to the flour and butter mixture. Mix until just blended. The dough will be sticky.

Dump the dough out onto a well-floured surface. Flour your hands and pat the dough out to 3/4-inch thick. You should see lumps of butter in the dough.

Cut biscuits with a 3-4-inch cutter and place on a baking sheet lined with parchment.

Brush the tops with the egg wash. Sprinkle with sugar and bake 18-20 minutes, until the outsides are crisp and the insides are fully baked. Let cool on a wire rack.

Prepare the grill. Brush the peaches with melted butter. Cook peaches, flat side down, over direct medium heat, for 10 minutes. Rotate the peaches a quarter turn after three minutes, then turn them over once after 6 minutes of cooking. Remove the peaches from the grill and toss the in a bowl with the sugar, lemon juice and vanilla (the excess liquid will be used as a syrup topping). Cover and keep warm until needed.

Split shortcakes in half, top each with a scoop of peach ice cream. Place a warm peach half on the ice cream and top with the remaining shortcakes half. Drizzle the syrup from the bowl with the peaches over each shortcake and serve immediately.

Yield: 6-8 servings

Recent Recipes

Potato Gratin

Potatoes are the one vegetable I could never give up. Fried, roasted, mashed, or scalloped—doesn’t matter, they’re always on the table in one form or another. This gratin is my favorite way to make them feel a little more special. It’s rich, creamy, and just decadent enough to make it feel like you’re putting in some extra effort. There’s a good bit of cheese in this recipe, but that’s exactly how it should be. The combination of sharp white Cheddar, gruyere, and Parmesan gives it the perfect balance of nuttiness, creaminess, and tang. And using Yukon gold potatoes instead of russets makes a big difference. They have just the right amount of starch to get creamy without getting mushy. This dish is a showstopper on the holiday table, but I’d eat it on a random Tuesday without hesitation.

Read more

Orange Cranberry Muffins

These muffins are like Christmas morning in a bite—bright, citrusy orange paired with tart, bursting cranberries. The combination feels like something you'd find in a festive basket dropped off by a thoughtful neighbor. Perfect for Christmas gift giving or to have on hand for guests throughout the holiday.

Read more

Chocolate Christmas Cheesecake

Chef Linda Roderick has been by my side through these cookbooks for over two decades, and there’s no one I’d rather have guiding me through a cheesecake recipe. She’s a master of the craft—steady, exacting, and always aiming for perfection. This rich, decadent chocolate cheesecake is no exception. It's all about balance. The deep, smooth chocolate filling meets a crisp, slightly salty crust for a perfect bite every time. Ensure your cream cheese is at room temperature before mixing—otherwise, you’ll end up with lumps. And when you melt the chocolate, give it time to cool slightly before mixing it into the batter, so you don’t end up with curdled filling. It’s worth the patience, every time. A few techniques can elevate this recipe to another level: chilling the dough overnight for a richer flavor, using a water bath to ensure an ultra-smooth texture, and letting the cheesecake rest for at least 24 hours before serving for the best flavor.

Read more