Skip to content

Robert St. John

Restaurateur, author, enthusiastic traveler, & world-class eater.

Black and Blue Nachos

Ingredients

4 6-inch corn tortillas
2 tsp olive oil
2 TBL minced shallot
2 TBL minced yellow onion
1 tsp minced garlic
1/2 tsp salt
2 TBL minced sun-dried tomatoes
1 tsp dry basil
1/4 cup milk
3/4 cup blue cheese crumbles
1/4 cup shredded pepperjack cheese
1 tsp fresh ground black pepper

Instructions

I use filet mignon, but ribeye or a New York strip would work well, too.

Cut the tortillas into eighths (as you would a pie).

Use peanut or vegetable oil for frying the tortillas. Fry the tortilla chips according to the directions on the package. Season lightly with salt.

Place olive oil in a small sauté pan over a low heat. Add onions and shallot and cook for three to four minutes. Stir in garlic, salt, tomatoes and basil and cook two minutes more. Stir often to prevent the sun-dried tomatoes from burning. Add milk and remove from the heat. Allow to cool completely.

In a mixing bowl, combine the sundried-tomato/onion mixture with the cheeses. Add pepper.

Refrigerate until needed.

For the Blackened Filet

1/2 pound beef tenderloin, cut into 2 inch long strips, 1/2 inch in diameter

2 TBL blackening seasoning

2 tsp kosher salt

2-3 TBL light olive oil

Dust the strips of beef in the blackening seasoning and sprinkle with kosher salt.

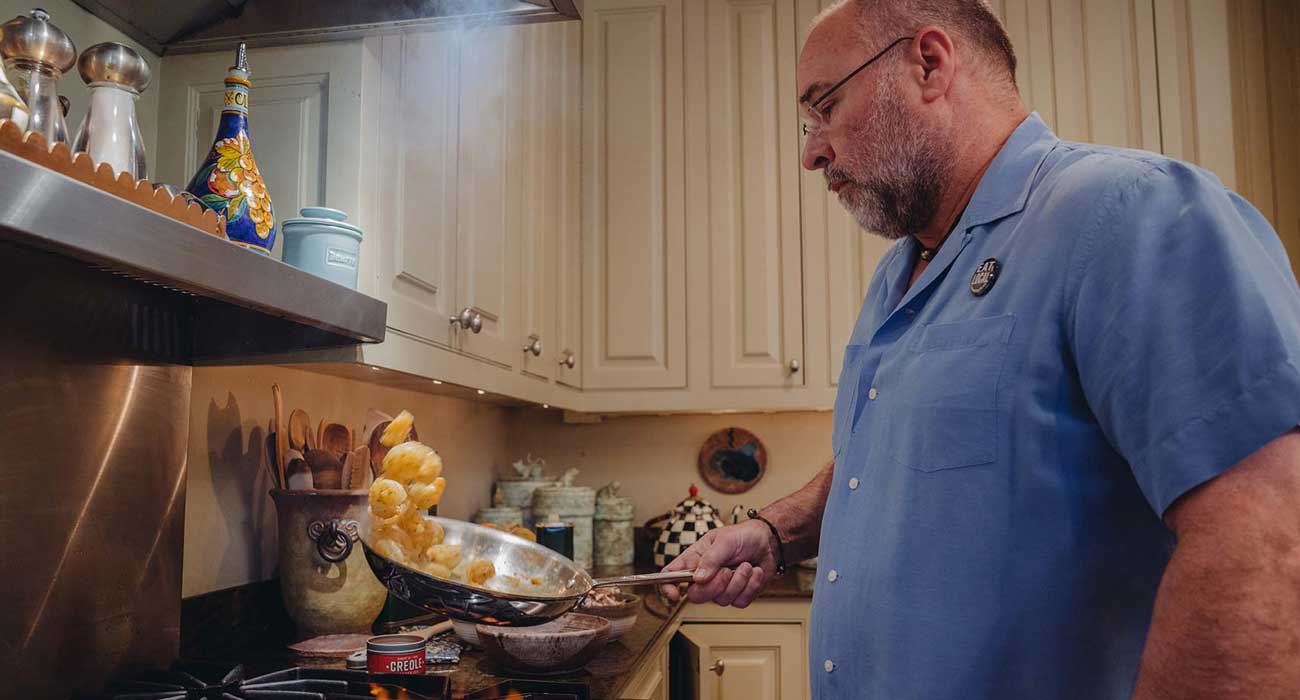
Heat olive oil in a cast-iron skillet over high heat. Scatter the beef over the surface of the hot skillet. Turn the meat after 1-2 minutes and cook evenly on all sides. Do not overload the skillet. You may need to cook the beef in batches depending upon the size of your skillet.

The beef can be cooked in advance and held until you are ready to serve the nachos.

To finish:

Preheat oven to 375

Place the individual tortilla chips on a large baking sheet.

Place one-two tablespoons of the cheese mixture on the center of each tortilla chip, top with a blackened filet strip. Bake five minutes or until cheese is melted.

Top with fresh chopped parsley and serve.

Yields 32 individual nachos

Recent Recipes

Potato Gratin

Potatoes are the one vegetable I could never give up. Fried, roasted, mashed, or scalloped—doesn’t matter, they’re always on the table in one form or another. This gratin is my favorite way to make them feel a little more special. It’s rich, creamy, and just decadent enough to make it feel like you’re putting in some extra effort. There’s a good bit of cheese in this recipe, but that’s exactly how it should be. The combination of sharp white Cheddar, gruyere, and Parmesan gives it the perfect balance of nuttiness, creaminess, and tang. And using Yukon gold potatoes instead of russets makes a big difference. They have just the right amount of starch to get creamy without getting mushy. This dish is a showstopper on the holiday table, but I’d eat it on a random Tuesday without hesitation.

Read more

Orange Cranberry Muffins

These muffins are like Christmas morning in a bite—bright, citrusy orange paired with tart, bursting cranberries. The combination feels like something you'd find in a festive basket dropped off by a thoughtful neighbor. Perfect for Christmas gift giving or to have on hand for guests throughout the holiday.

Read more

Chocolate Christmas Cheesecake

Chef Linda Roderick has been by my side through these cookbooks for over two decades, and there’s no one I’d rather have guiding me through a cheesecake recipe. She’s a master of the craft—steady, exacting, and always aiming for perfection. This rich, decadent chocolate cheesecake is no exception. It's all about balance. The deep, smooth chocolate filling meets a crisp, slightly salty crust for a perfect bite every time. Ensure your cream cheese is at room temperature before mixing—otherwise, you’ll end up with lumps. And when you melt the chocolate, give it time to cool slightly before mixing it into the batter, so you don’t end up with curdled filling. It’s worth the patience, every time. A few techniques can elevate this recipe to another level: chilling the dough overnight for a richer flavor, using a water bath to ensure an ultra-smooth texture, and letting the cheesecake rest for at least 24 hours before serving for the best flavor.

Read more